


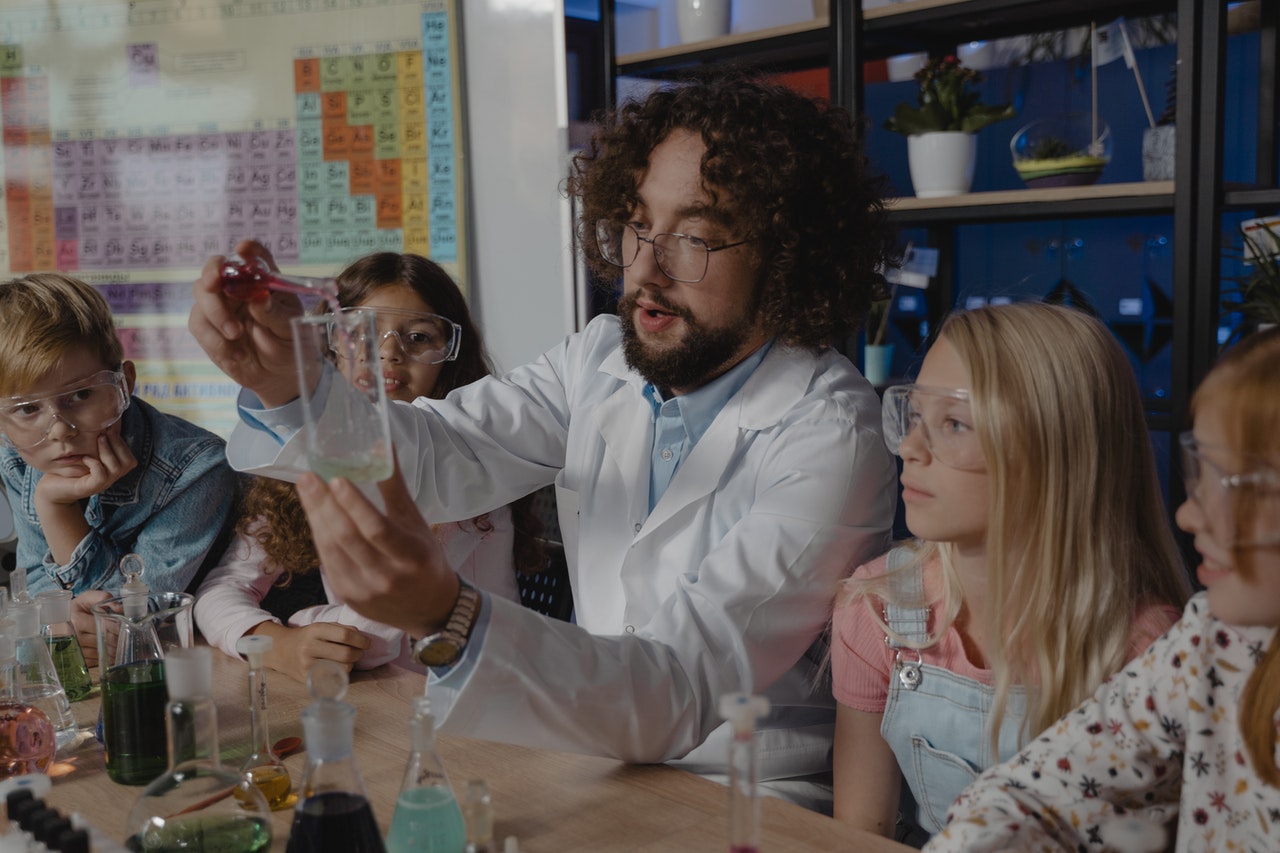
If you’ve decided to run an after school science club for students, either for those who need a bit extra time to understand topics learned in class, or simply because your kids enjoy it, you’ll not only be doing students a favour but parents too.
Alternatively, you might simply be looking for school science club activities to bring to a general after school programme where students can have fun doing something a bit different and test out their budding science skills. Here are some quick-fire after school science club activities to bring with you next time you’re leading after school club.
1. Make a DIY Lava Lamp
Lava lamps we a big fad once upon a time. If your students don’t know what a lava lamp looks like you could consider finding an old one to bring in and demonstrate, or maybe show them a video of one. Lava lamps look like they come from an alien planet, but it’s easy to recreate this weird looking effect with household materials. Your students will have great fun putting their lava lamps together, and they’ll learn about the density, reactions, and behaviour of different liquids at the same time.
You’ll need:
- Baking powder
- Tall jars (one for each student)
- Food colouring
- Cooking oil (any kind of cooking oil is fine)
- Vinegar
Method:
- Add 2-3 tablespoons of baking powder to the jar.
- Fill the jar up to ¼ full with cold water.
- Add a couple of drops of food colouring and mix together.
- Slowly pour cooking oil into the jar until ¾ full.
- Pour in a tablespoon of vinegar.
- Make this even more realistic by turning the lights off and shining a torch through each lamp!
2. Stress Test STEM Structures in Earthquakes
Our Real-World Stem Challenge Kit includes everything you need to create a structure and stress test it against increasingly intense earthquake tremors. The kit comes with three different challenges and encourages children to think like engineers to come up with structural solutions to this real-world problem.
Build on this exercise by experimenting with other materials and how they react to earthquake tremors.
You’ll need:
- A plastic tray, a tuff tray is ideal for this.
- Sand
- Water
- Glue
- Jelly
- Cocktail sticks, chopsticks or kebab sticks
- Marshmallows or fruit pastilles that can be used as joints to stick the structures together

Method:
- Give the children a selection of materials each along with a tuff tray and let them use their imagination and knowledge of how the materials behave to create a structure they believe to be strong enough to withstand the ‘earthquake’. To keep things fair, specify that the structure has to be at least 20cm tall.
- Each structure should stand in foundations in a tuff tray filled with sand. See if adding water and glue to the sand will provide sturdier foundations.
- The ‘earthquake’ should increase in intensity incrementally, make a record of if and when any structures fall down.
- Afterwards, discuss what happened with the children, could they observe any weak spots in the designs? Which one was the strongest and why?

3. Make a Bouncy Egg
This is a super simple experiment that requires hardly any equipment. It’s so easy that children will be able to go home and show their families how to make a bouncy egg balloon! Aside from the inevitable giggles, this experiment will get, it offers the opportunity to demonstrate chemical reactions and how they can change the state of materials. You could also use this experiment to talk about how an egg is formed, using a torch the see through the egg’s skin afterwards.
You’ll need:
- Eggs (one for each student)
- Glass jars (one for each student)
- Vinegar
- Time (you’ll need to leave the eggs soaking for at least a day to see the results)
Method:
- Carefully put the egg in the jar and cover it with vinegar.
- Leave the jars in a safe place where they won’t be disturbed.
- Check back on the jars in one hour and see if any air bubbles have formed on the outside of the egg. This shows that the vinegar is getting to work.
- The next day carefully inspect the eggs by gently poking the outside. Does it feel soft and springy? Is there residue in the vinegar from where the shell has broken down?
- Within a day or two, the shells on the eggs should have fully dissolved leave the bouncy membrane containing the egg. Carefully remove and examine the eggs.
4. Make an Erupting Volcano
One of the most popular science club activities in school is to make an erupting volcano model. If your students haven’t already created their own erupting volcano now is a great opportunity to do it. Not only will this demonstrate a different kind of reaction, but the children will have a lot of fun learning about how volcanoes work. You could create the volcano structure together as a group using paper mache. If you want to skip this step and go for an even more realistic volcano, we have an Erupting Volcano Model that is designed to show an annotated cross-section through the structure as well as a removable inner tube making the volcano easy to clean and reuse.

To make your own volcano from scratch you’ll need:
- A plastic bottle (this can be concealed in your volcano model, just make sure the bottle opening is not obstructed.
- A funnel
- Vinegar.
- Red food colouring.
- Bicarbonate of Soda.
- A tuff tray to catch all of the lava.
Method:
- Prepare your volcano model with the bottle inside on the tuff tray, make sure everyone has a good view because the eruption will happen quickly!
- Using the funnel, pour some vinegar into the bottle about half full
- Add a few drops of red food colouring and mix well
- Add 1 tablespoon of bicarbonate of soda and watch as the volcano erupts!
5. Create a Water Lifecycle in a Bag
For students learning about the life cycle of water, this self-contained observation experiment will be captivating as the kids get to see the different stages of water in action.
You’ll need:
- A zip-lock plastic bag
- Water
- Blue food colouring
- A permanent marker
- Duct tape
- A source of warmth like a sunny spot or a hairdryer
Method:
- Place the bag flat on a surface and use the marker to draw the water cycle on the bag (waves at the bottom, sun and clouds at the top).
- Fill the bag with a little water (about 3-2” full) and add some drops of blue food colouring.
- Seal the bag and cover the top with duct tape to ensure there are no gaps.
- Tap the bag to the classroom window.
- If it is a sunny day, the water inside will begin to evaporate and form condensation on the sides of the bag, slowly running down as ‘rain’ back into the body of water. If it’s not warm enough in the natural light, use a hairdryer on a gentle setting to carefully warm the bags without melting them.